

WELCOME TO PRESS EDUCATION, CLASS IS NOW IN SESSION.
HOW TO APPLY PRESS ON NAILS

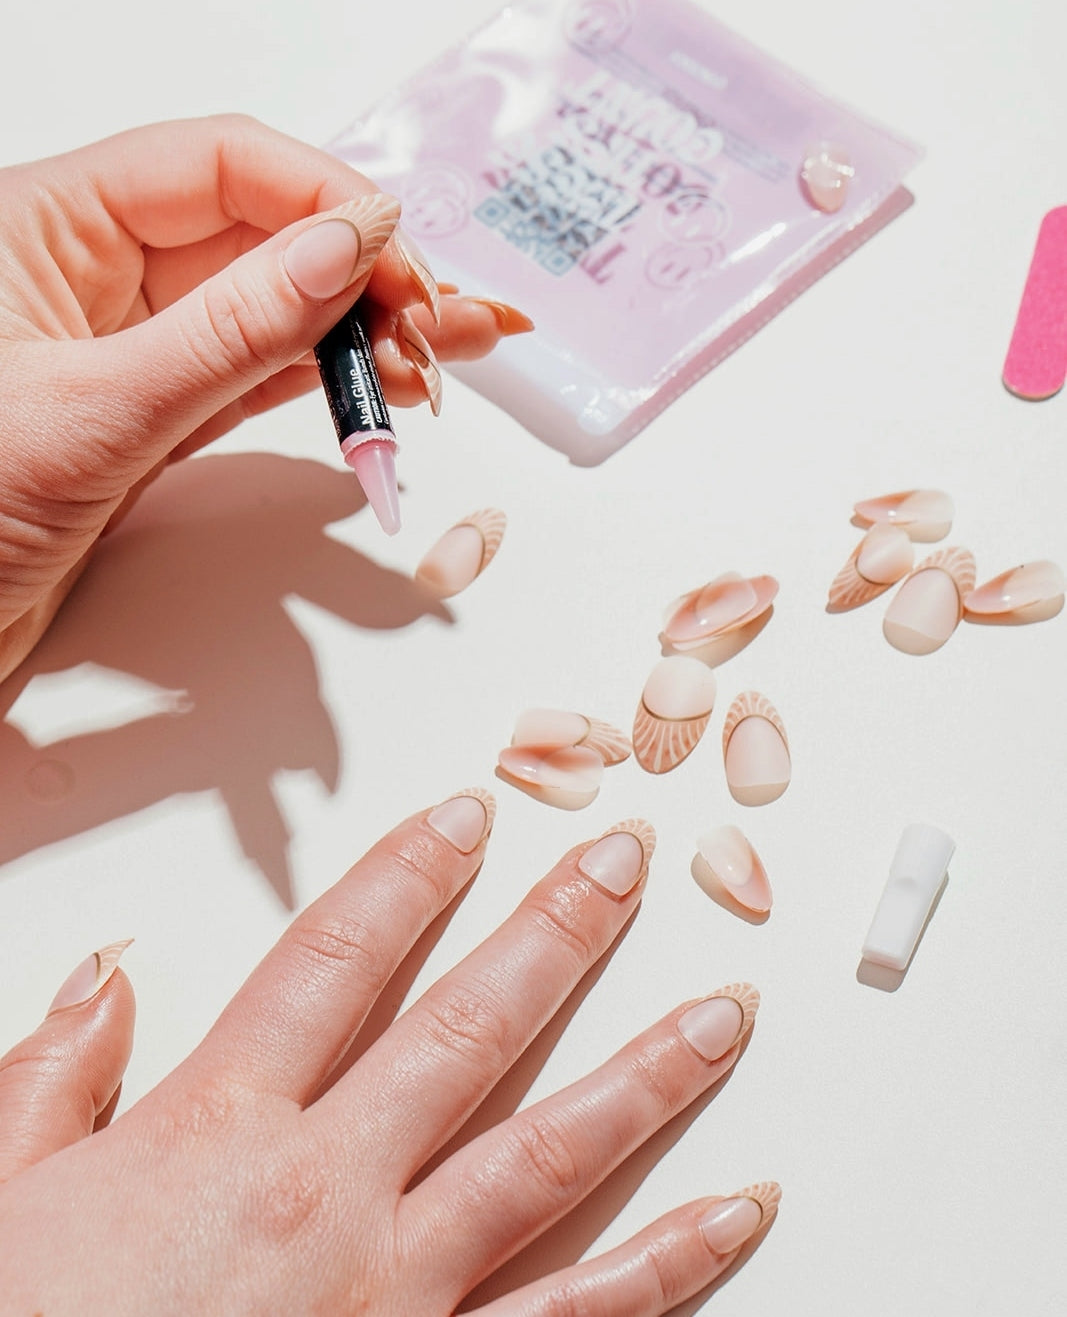
STEP #1: SIZE MATTERS
Before letting us jump into your nail beds, it's important to make sure you've found the right fit. Test out different nail sizes on each finger to find out which ones you're ready to do the deed with.
TIP - the correct size should cover your natural nail. If you're in-between sizes you can file down the press-on nail for that perfect fit.
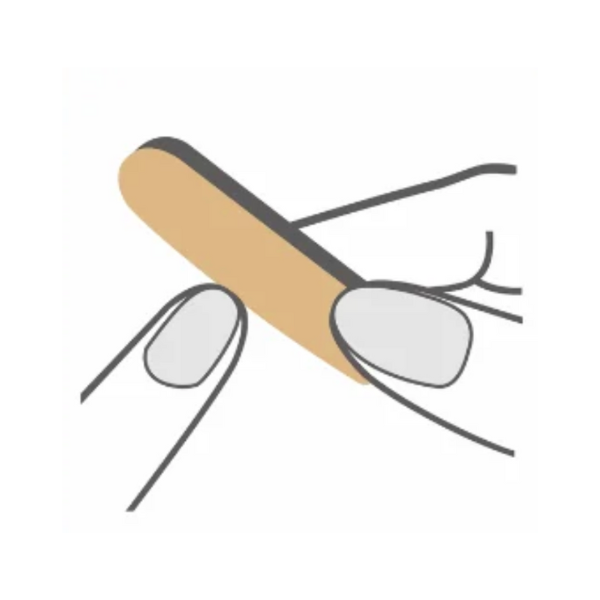
STEP #2: RUB ONE OUT
We want you to last during your Quickie so don't skip this key step.
Get prepped and ready for your Quickie by pressing back your cuticles with your fingers, nail file or orange wood stick. Next gently use the nail file to buff the top of your natural nails for texture and grip.
Now you're ready for some action!
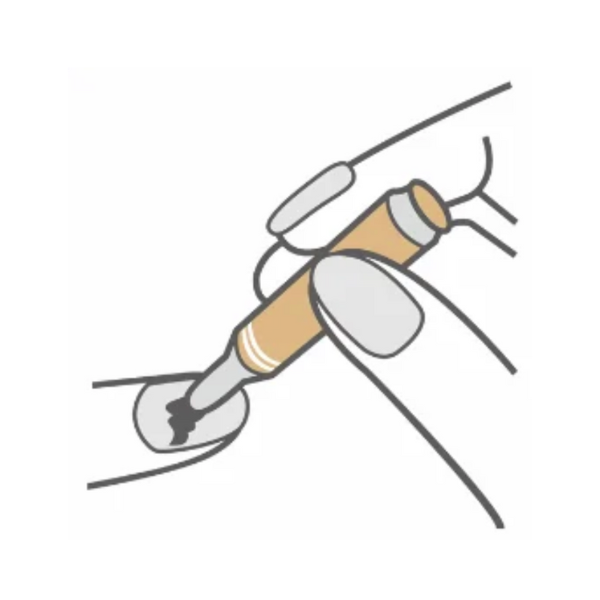
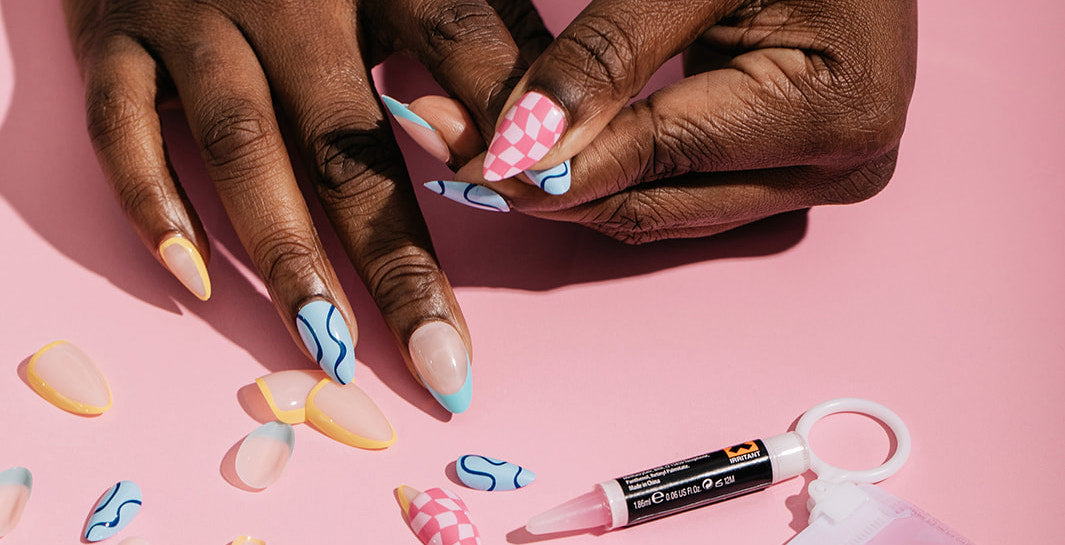
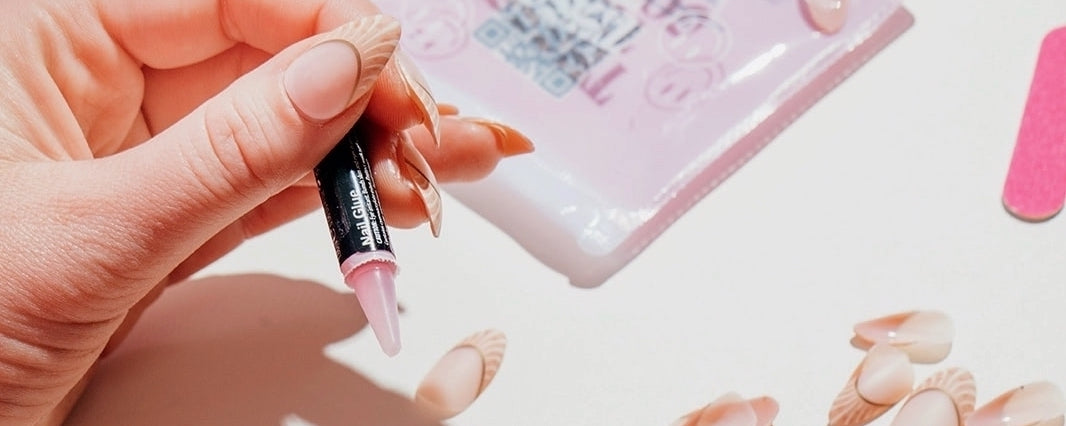
STEP #3: GET WET
The key to a satisfying Quickie is making sure things are ready for application.
Apply a generous dot of liquid glue to the centre of your natural nail and using the tip of the glue tube, spread the glue over your entire nail.
After all, no one wants a premature application.
TIP - for semi-sheer gloss finishes/transparent bases add an extra dot of glue to the back of the press-on nail as well and use lots of pressure when applying the nail, this will help alleviate air bubbles!
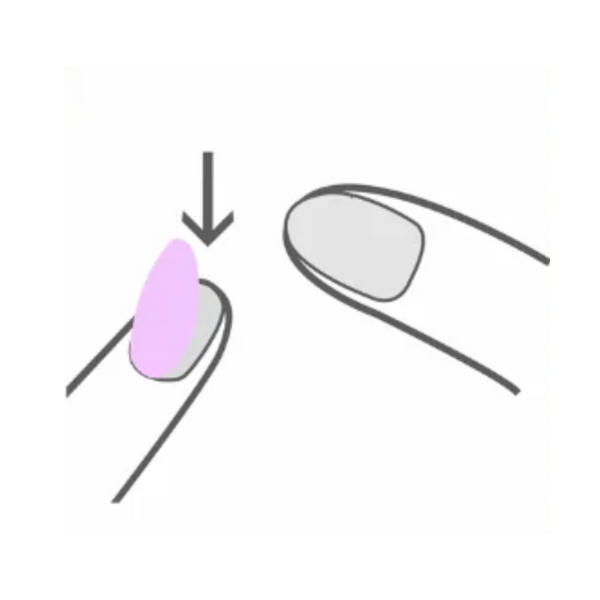
STEP #4: PUT IT IN
Now it's time for the magic to happen!
Holding the tip (numbered side up!!) of the press-on nail, slide the base of the press-on slightly under your cuticle and then press down applying the nail from cuticle to tip.
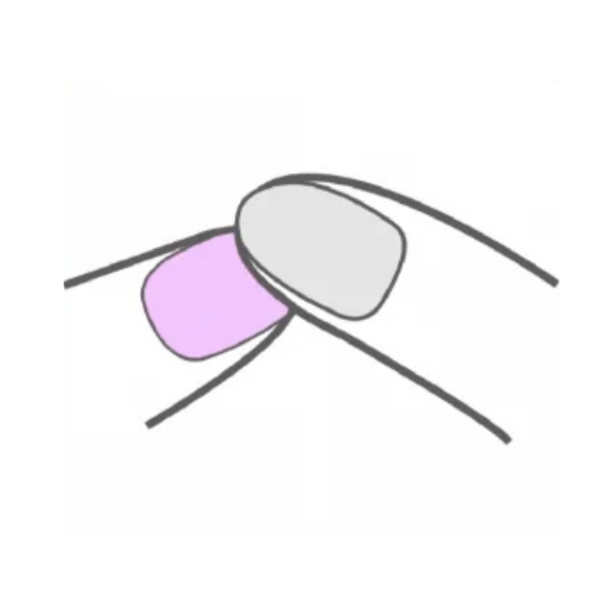
STEP #5: BE HANDSY
We don't want no one minute man so make sure to apply firm pressure to each nail for 15-20 seconds to ensure a proper application that sticks. Don't be afraid to really feel that bad boy up!
SHOW US WHERE YOU LIKE TO HAVE A QUICKIE BY TAGGING @GETQUICKIES
DO'S & DON'TS
| DO | DON'T | |
|---|---|---|
| Read the instructional card that comes with your order | ||
| Use the numbers on the back of each nail to help find your sizing | ||
| Apply your nails right side up (number at the tip, not at the cuticle) | ||
| Use your travel pouch to wipe up any glue leakage instead of your fingers or paper towel | ||
| Take your extra nails, glue and nail file with you wherever you go in our reusable travel zip pouch |
not everyone loves their first time, just remember it gets better.
HOW TO TIME YOUR QUICKIE
-
For a Quickie that lasts and lasts , make sure to follow ALL the steps of our signature application method above. Especially step #2, this is key for a satisfying and lasting Quickie.
-
If you want your Quickie to last but don't want to go too long, don't buff your entire natural nail. Instead, focus on just the centre of the nail for slightly less textxure/grip during the application process.
-
Want a quicker Quickie? Feel free to skip step #2 if you're wanting your Quickie to last only a few days but just don't be disappointed if they don't last as long as other Quickies.
FAQ